I'm a total sucker for Pinterest. I see ideas and I'm immediatly convinced I can make just about anything one way or another. I saw a pin the other day from a glass etching blog tutorial, read the instructions, and told Elaine we needed to test it out asap! It was this glass baking dish with the couples last name! I have a ton of weddings to attend this summer and thought...what bride doesn't LOVE seeing her new last name plastered on everything she owns?!
Here is the TRUTH about etching glass... let's just say we like learning the hard way!
Let's start the tutorial with what NOT to do...
1. Do NOT start with your favorite glassware items. PLEASE I BEG OF YOU... DO A TEST RUN FIRST!
2. Do NOT get lazy and try to skip the step where you double up the contact paper
3. Do NOT rush the process and leave the cream on for less than 10 minutes
4. Do NOT leave the cream on for too long either...it will eat through the contact paper and makes your project look nasty
5. I would NOT buy expensive vinyl for your first go round on this like some tutorials suggest. I used contact paper and ended up throwing a lot of scraps away because I didn't like the size, shape, etc.
6. Do NOT use a super sticky cutting pad on the cricut. You will get a headache trying to peel the contact paper off!
If you're like me and you hate reading directions... this photo is for you!
If you want to know how to do it the right way (the first time)... these are the directions for you!
How to Etch Glass
NOT LIKE THIS!!!
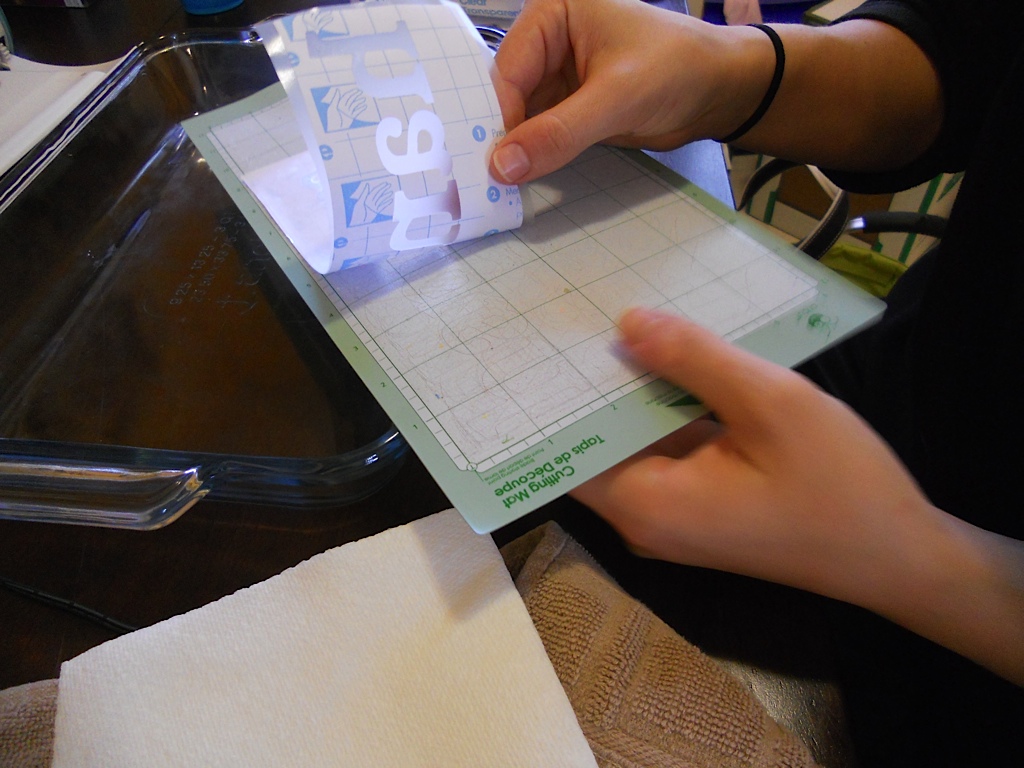
1. Place the contact paper facing up on the cutter and cut your image out using the cricut-
2. Peel off your letters and leave the negative on the cutting board.
3. Take another sheet of contact paper and slowly place it overtop the negative of your image (make sure not to pull the whole thing off, but rather adhere the one side and slide it off as you stick in onto the image to prevent lots of bubbles).
4. Pull both layers off the cutting board.
5. Peel the back layer of the contact paper off (again slowly) as you position it onto your glassware. It should stick to your surface.
6. Now remove the top layer of contact paper. Do this process carefully as to not rip the bottom layer. I noticed that the small pieces inside the letters a, e, and o got stuck on the top layer of contact paper. As you come to these letters, just use your fingernail to pull them off and place them back where they need to be. Smooth out the bubbles away from the edges.
7. Use a plastic knife to spread on the etching cream. I used Armour Etch from Michaels. Let sit for 10 minutes (watch out for drips).
8. Rinse with water and peel off contact paper. Smile because you are awesome at etching!
9. Go buy more glassware and repeat!
And there you have it folks! The do's and don'ts of glass etching. Also, a super big thank you to
Make It Love It.com for the inspiration to etch like every single piece of glass in my home!